Monday, 31 October 2016

Great Lesson 1 : The Periodic Table [Post 9]

Following on from my last post on the atom, this post will look at activities and ideas I have used to introduce the periodic table to my class. 

To begin, it is important to have an attractive and accurate periodic table for the children to work with. I created this periodic table activity below and it is definitely one of my favourite materials. This can be downloaded from here.


I wanted the periodic table to really stand out, so I made sure I used bright colours on a black background. The control chart includes all the details, while the working chart is blank and the child uses the small printed tiles to construct the periodic table. Initially, the child will work with both charts alongside each other, but eventually, the child should be able to use the blank chart and count how many elements they can place correctly without the control.


The children can also use the blank chart to make their own periodic table. I have included one with the periodic table for sale here. Or you can download one for free here.


The Elements book by Theodore Gray is a definite must have when working on the periodic table. It contains beautiful images which really capture the children's interest. Noah read this book for hours. 


The book also includes a foldout periodic table like this one below.


(Photo from http://elements.wlonk.com/)

I printed these element cards from this website. They also have free periodic tables and other element printouts. We used these cards for a matching activity.

(Photo from ETC Montessori)

I also have a set of these cards from ETC which are really beautiful. We use these to construct a visual periodic table and to look at the layout of each atom.
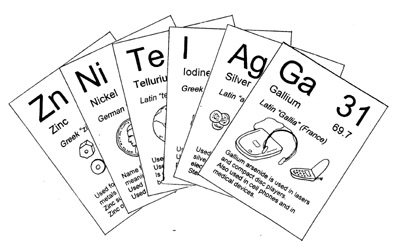

(Photo from http://ellenjmchenry.com/)

These cards are also available for a free download with instructions on how to play the Quick Six card game.


I used this free download for children to create their own element booklets.
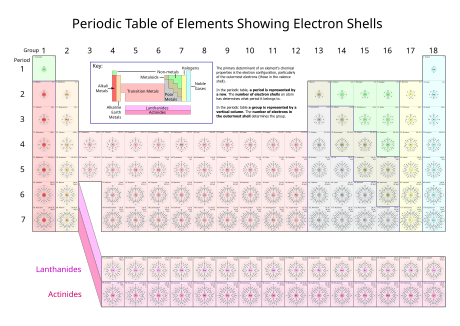

(Photo from Wikipedia)
To help children make the elements on our atom board, I printed out this periodic table from wikipedia and cut it into individual elements. The cards show the number of electrons in each shell. 


This previous post shows our atom board.
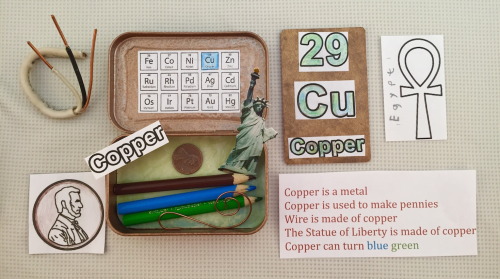


I love this idea and would like to encourage my class to make individual element boxes which are added to by students over the years. The items can also used for something like below:

(Photo from Pinterest)


(Photo from here)

Finally for our next project, I would really like to make a floor sized periodic table, where each element is one A4 page. This would specifically appeal to kinesthetic and spacial learners. I plan to use the element printout from here but keep to the original colours from our Montessori periodic table.

Monday, 24 October 2016

Great Lesson 1 : The Atom [Post 8]

A lovely follow up for the first great lesson is to look at atoms, molecules and the periodic table. 

Atom 3-part Cards


To start off with, the children are reminded of the elements mentioned in the great lesson.  They are then introduced to the parts of the atom using these three part cards. These cards can be purchased from my Montessori Material Store here alongside some using worksheets.


Next, I encourage the children to make their own model of an atom based on what they have understood. This allows them to demonstrate their knowledge and get creative. Here are two models Noah made back in 2014.


Next, we begin constructing atoms and comparing them. To do this, the children need to be introduced to the periodic table and atomic number. I will post about the periodic table lessons separately. 

Atom Board

A lovely material for construction of atoms is the Bohr Board. I didn't want to spend $120 so I decided to make my own. It was so easy and the children loved it. 


I started off with a square piece of plywood 50cm x 50cm. I marked on the shells using a pen and compass. The holes for the electrons were made using a Stanley knife. It's important to make the exact number of holes in each shell. 


This photo shows a better view of one I made on the bottom shelf. This one has a lovely wooden grain which added to the beauty of this material.


We used the beads from the small square peg board as protons, neutrons and electrons. The protons and neutrons were placed in a cup at the centre of the atom. The cup isn't showing in this photo as Noah is filling it up. The electrons sit in the little holes.


I printed out this period table and cut it into individual cards. The children use these as a guide for placing the electrons when constructing atoms on the Bohr board. 


I found some lovely examples of Bohr Boards on these blogs:


Next, I encourage the children to select their favourite elements and make charts or diagrams like this lovely one. The flags are labelling the parts.


Some children decide to make a booklet of the first 20 elements or so using the worksheet included in my set above.

Monday, 10 October 2016

Great Lesson 1 : Moon Phases [Post 7]

Since I have renewed my vows to blog again..I will be starting with continuing my Great Lesson 1 posts from 2015. 

The next great lesson 1 follow up activities are on the moon phases. 


Moon Phase Box


This first thing I like to do with moon phases, is provide the children with experiences that help them to understand why the moon appears differently throughout the month. I do this through a series of activities which they can repeat as often as they like.

Firstly, I gather the children to make a moon box like this. 

(photo from education.com)

Instructions for a moon box can be found here and here. This is fairly simple to make, so I allow my elementary children to get on and make one themselves. Once the box is made, we shine a torch through and peep through the different holes. Looking through each hole, the child will see the moon appear differently. If possible, use a circular box as this will give and even better impression. 


Moon Phase Demonstration


(photo from nasa.gov)

Another activity we do is model out the moon phases in a dark room. For this I have the child stand in the centre of a dark room on a printed earth, to symbolise viewing the moon from the earth. The child hold a polystyrene moon on a cocktail stick straight in front of him. Another child stands at one end of the room holding a torch, shining on the child on the earth. The child in the centre (on the earth) rotates slowly, holding the moon out in front of him observing the moon's appearance as it changes. 

The Nasa website has detailed instructions of how to demonstrate this here

Here's a youtube video that shows the demonstration.


Through these two activities and others, the child develops an understanding of what moon phases are. This makes the language of the moon phases so much more meaningful. 


Moon Phase 3-part Cards


ETC Montessori have a lovely set of moon phase cards which I have used for years. The cards can be downloaded for free from their website here. Unfortunately, I don't have a photo of them set up.


Moon Phase Chart


My children then use the 3-part cards to make their own moon chart like this. This one is very basic, using a white pencil. However, I love to give the children a full range of materials to get creative and make their charts out of anything they like.


Moon Phase Puzzles


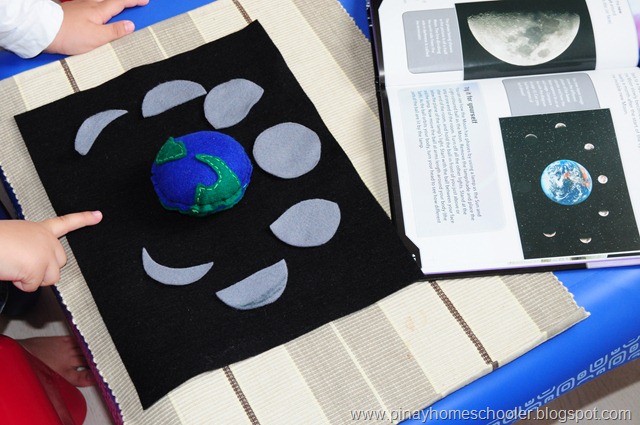
Unfortunately, I am not lucky enough to have a moon phase puzzle yet! This is one piece of material I have on my waiting list to make. I have seen quite a few blogs with home made puzzles. This felt puzzle from Pinay Homeschooler is lovely!


 (photo from The Pinay Homeschooler)


Moon Research


As with all the other follow up lessons, I guide the children to research our moon themselves. Some have even gone on to look at the moons of other planets. As with all research I encourage the children to record their finding and make visual props to demonstrate their understanding. This usually leads to a classroom performance giving all the children the opportunity to hear what has been researched. 

Sunday, 9 October 2016

Blog on...Updates...


I know it's been a long time since I last posted. I see amazing things in my class and snap photos with every intention to share...but somehow never get round to posting them. The demands of life take over and before I realise, almost a year has passed. I am grateful for all those readers who still message me here or on Facebook, to ask me for the next post and to tell me how much they miss my regular photos and comments. I am amazed that I still get 100s of visitors on this page every day despite my infrequent updates.

I have every intention to renew my blogging traditions and bring life back to this page. My life has moved onto a new stage. One that is more focused on being a Montessori Trainer that truly supports student teachers to become the best Montessori teachers possible. I hope this new focus allows me more time to blog and the opportunity to achieve some of my other Montessori goals. As a Montessori trainer, I will not only be focused on training teachers but as a homeschooler, I would love to support families who decide to use Montessori as the way to educate their children.

Little-N...is also not so little anymore...he's twelve and well on his way to the next plane of development. It's fascinating to see the transition and to see how he compares to peers who didn't attend Montessori. I would like to share the success of his 12 years Montessori journey and show those of you how are still on their journey with younger children that Montessori education really works. The fruits at the end of the Montessori home-schooling journey are well worth the struggles.

So, I hope and pray this post is the first of many more to come. And if my blog goes quiet again...please send me a little nudge to keep it alive...X


Saturday, 14 November 2015

Great Lesson 1 : Solar System [Post 6]

There are many great Montessori posts on the solar system. This post may not add anything new to the blogosphere, but I feel it is necessary for my First Great Lesson posts. So here is a glimpse at what we do.


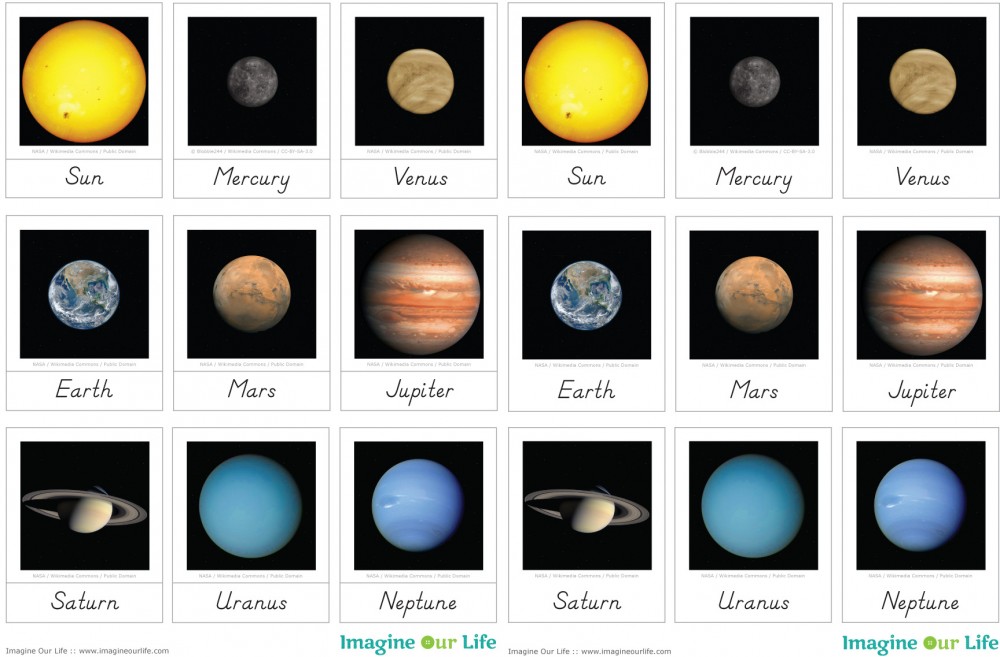
3-Part Planet Cards


3-part planet cards with handmade scale models.


These models are made from polystyrene balls. They are made to scale to our sun mat.


Imagine Our Life has this free download for planet cards

[Photo from Image Our Life]


Scale of Planets

The scale of planets fascinates the elementary child and suits their imaginative mind. Lolly has a lovely post on her blog Elementary Observations here. She has a free download for a planet scale activity. 

[Photo from Elementary Observations]


Solar System Riddles

Lolly also has this set of Solar System riddles which are perfect for the elementary classroom. Riddles are always a big hit in my class. These are also the perfect way to integrate language arts into the great lessons. I also encourage my children to write their own riddles.

[Photo from Elementary Observations]


Planet Research

As usual, I encourage my children to pick a planet to research. This is the sheet we use for the younger children. 


I saw the original somewhere in blogsphere but can't remember where. The questions asked are:
Name of Planet?
What number is this planet from the Sun?
How far is this Planet from the Sun?
How big is this Planet from one end to another (diameter)?
What is the temperature of this Planet?
Does the Planet have an atmosphere?
Which gases make up its atmosphere?
Three facts about this Planet

I encourage each child to research one planet and together we create solar system research book. Sometimes a couple of children decide to research all the planets themselves and make their own booklets.

I have these astronomy research guides from Montessori for Everyone. I use this with my older children.

[Photo from Montessori For Everyone]


Astronomy 3-Part Cards


[Photo from Montessori For Everyone] 

There is something similar for free here.


Planet Related Experiments

The Geography Impressionistic Charts from Montessori for Everyone has a solar system chart and planet related experiment cards. 

Noah doing the colour of Mars experiment.

These are the experiments in the pack. 
  1. The bands of jupiter: It is very similar to this experiment on density.
  2. The colour of Mars [above].
  3. The impact of craters: A brief description on here and here.


Solar System Pastels Drawings


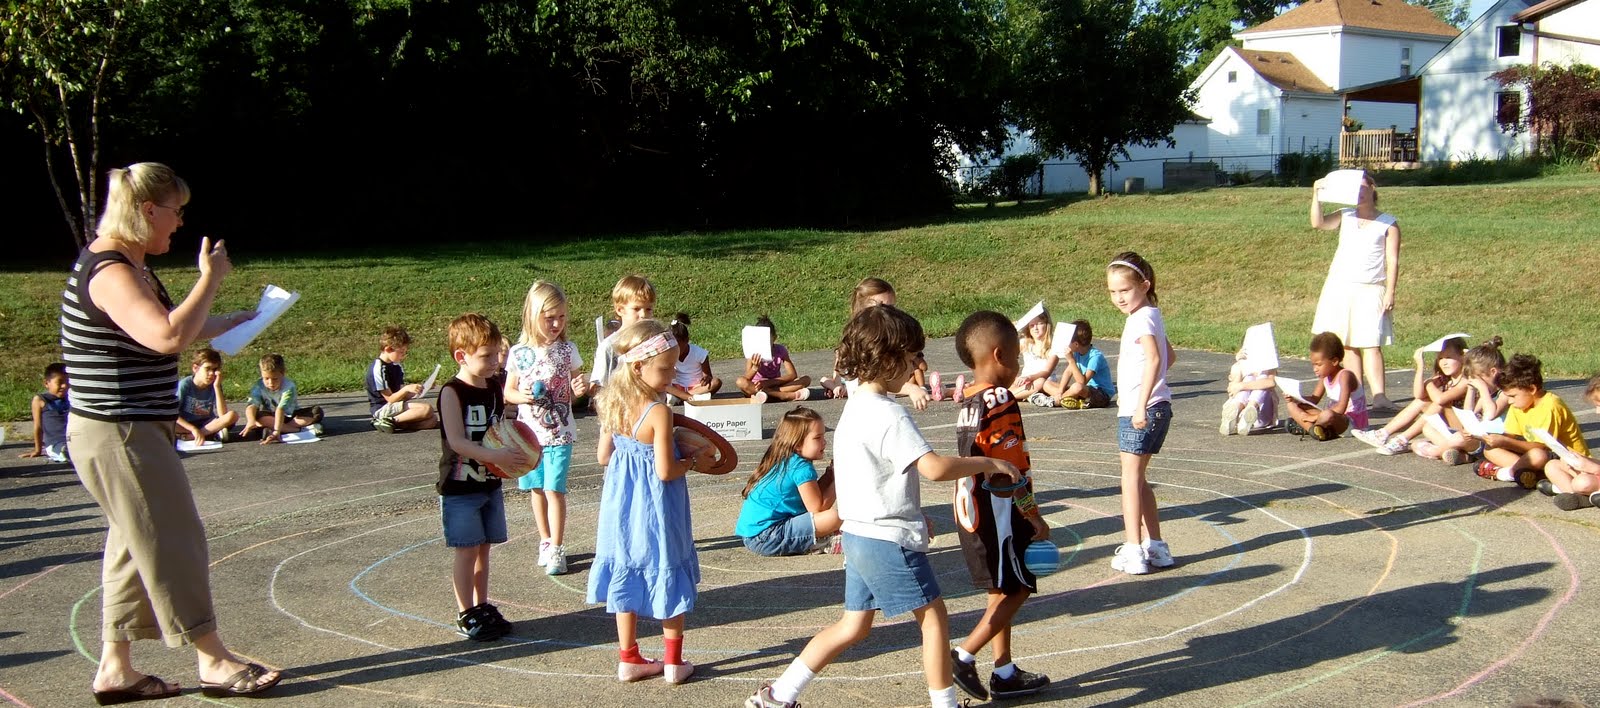
Solar System Dance


The solar system dance is really fun and best done outside. Each child takes on the role of a planet, the sun, the moon or an asteroid. Each role is described in detail and the children act out the solar system. 

I made these labels for the children to wear while doing the dance. They can be downloaded for free here.


Distance of the Planets From Sun


This is a lesson that I can't wait to try.There is a blog post about it here and another here.

The instructions for this solar system toilet paper activity can be found here.

Thursday, 29 October 2015

Great Lesson 1 : Types of Galaxies [Post 5]

Galaxies are another fantastic follow up to the first great lesson.

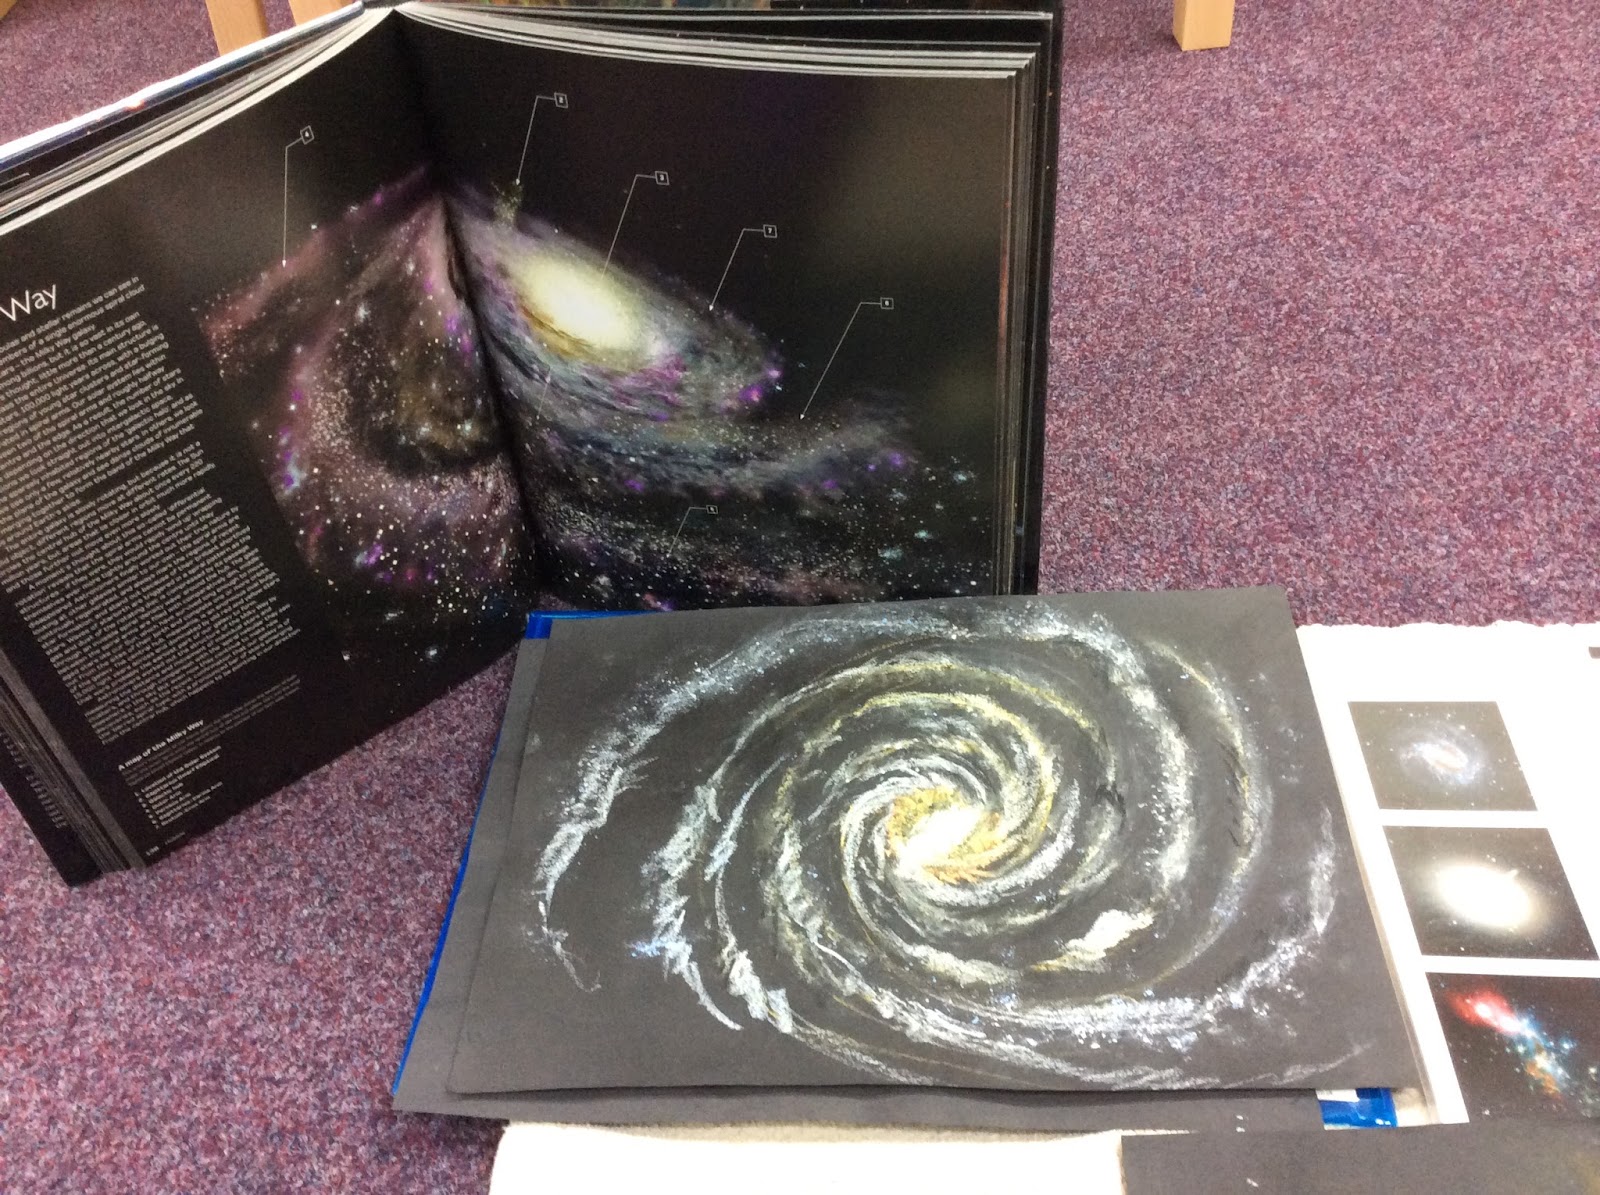
Since galaxies are incredibly beautiful, I wasn't satisfied with printing out pictures for this lesson. I wanted pictures that would inspire awe and creativity. So with a friend of mine, I created these galaxy pastel drawings. 

We first spoke about the formation of galaxies, recalling what was discussed in the great lesson. Next we introduced three types of galaxies; spiral, elliptical and irregular.  

Here is a layout of all three galaxies.

Spiral Galaxy

 Elliptical Galaxy

 Irregular Galaxy

We used this poster as a guide for the types of galaxies. This can be downloaded for free from my shop here.
http://thelearningark.com/content/types-galaxies

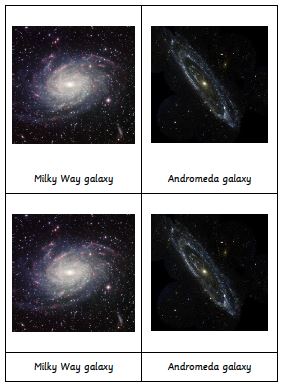
Next we looked at different galaxies which have been discovered. I made these 3-part cards for ten different galaxies.
These can also be downloaded for free on my site
(all photos were taken from Wikipedia)

Children were encouraged to pick a galaxy and research it further.

This book fit perfectly with this lesson.


Of course, the children were inspired by the pastel pictures and eagerly drew their own. 


Here is an old photo of  Noah drawing spiral galaxies using pastels at the age of 9. As you can see he got right in and even smudged pastels on his face lol! Noah is now 11 years and he still enjoys this activity each time we tell the great lesson.