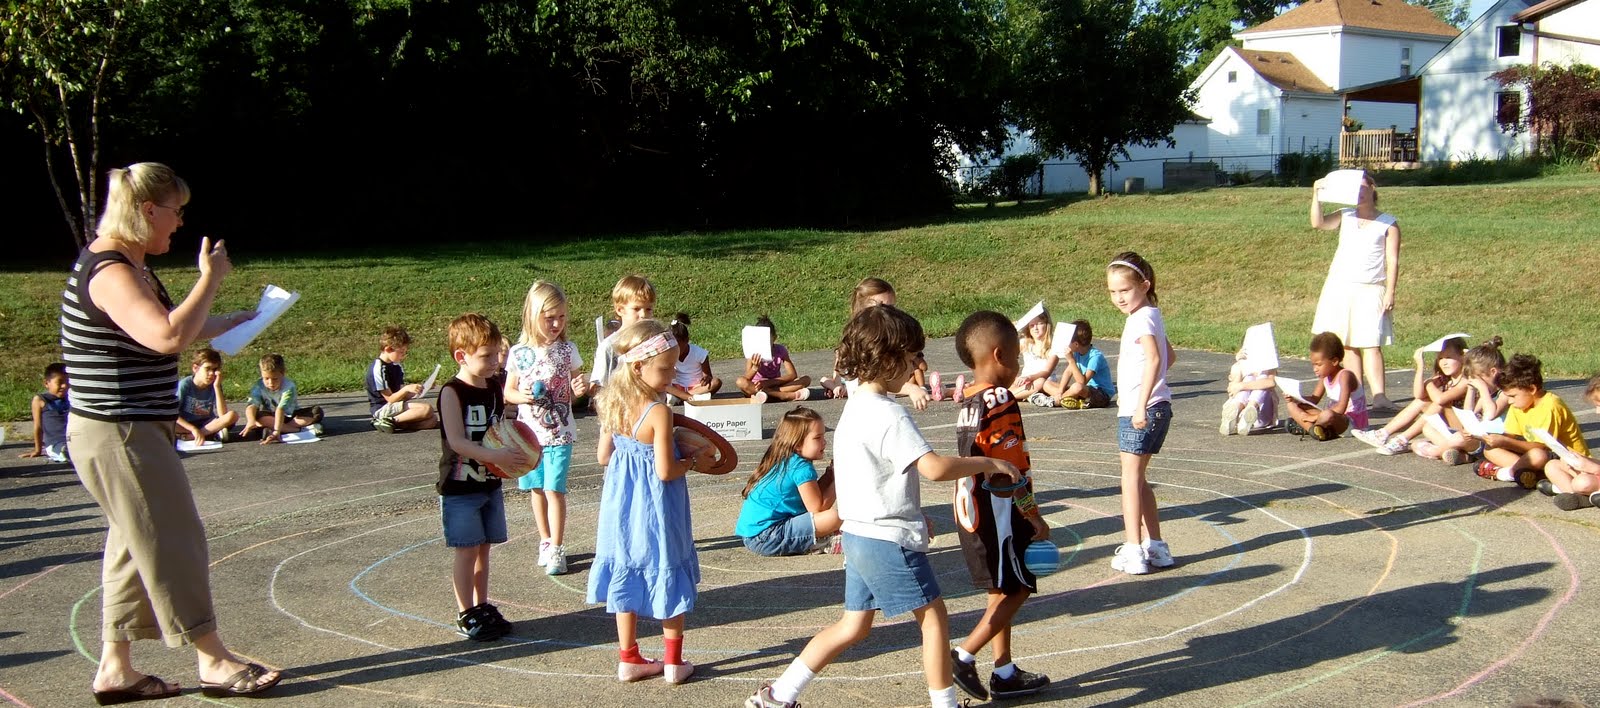
Today, I have decided to blog about something different from the Great Lessons.
Noah (who is now 12 years), no longer attends a Montessori classroom. This is mostly due to our relocation to another country and my new focus on Montessori training and consultancy (instead of working in a classroom).
My new work means I have more time at home with Noah which has been lovely. I have decided not to use structured homeschooling, so Noah is pretty much unschooled and just learns when he naturally does which is pretty much all the time.
I am constantly shifting and organising my collection of Montessori Materials and Noah is always getting involved. It has been very interesting to see his excitement and interest in the Montessori materials he has worked with so often and mastered.
Today he saw the time zone map which he worked with quite a while ago. He was immediately attracted to the tiny clocks and went straight to work with it. Somehow, this material has a different meaning to him as a 12 year old who now lives in a new time zone.

At the top of the map are blank boxes where Noah places the clocks. Since we live in the +8 time zone, he started there by placing the clock that represents the actual time.

He then filled in the other clocks, being mindful to use the red clocks in areas where it is day and black where it is night.

The next step is to cover the night areas with black strips. Noah didn't want to do this.

Instead, he moved onto working out the times in all of his favourite countries.
This time zone map is available to download here.
Time Zone Map Giveaway
I am giving away one copy of this file for free on my facebook page.
Follow these three steps to enter the giveaway (make sure you leave a comment on FB so I can enter you into the giveaway):
1. Like The Learning Ark Montessori Materials Facebook page if you have not already.
2. Share the facebook page post on your page or group.
3. Leave a comment on the FB post to let me know where you have shared it.
2. Share the facebook page post on your page or group.
3. Leave a comment on the FB post to let me know where you have shared it.
I'll use a random number generator to select the winner on Wednesday the 14th of December at 5pm GMT.
Please make sure you leave a comment so I can enter you in the giveaway.
I am hoping to giveaway more materials in December so keep a look out for my upcoming posts.


.jpg)


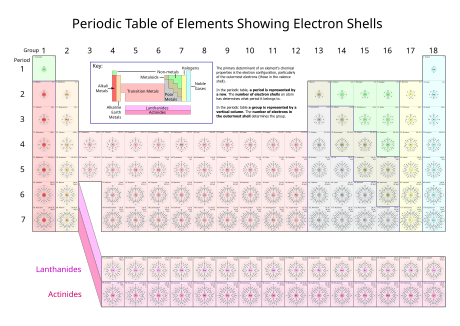


.svg/1920px-Periodic_Table_of_Elements_showing_Electron_Shells_(2011_version).svg.png)


.jpg&maxx=300&maxy=0)