Showing posts with label Cultural. Show all posts

Monday, 21 November 2016

Great Lesson 1 : Molecules [Post 10]

After working on the periodic table and atoms, work can start on the study of molecules. I love this lesson as it enables the child to become familiar with the basic molecules which we can then refer to in other presentations such as a lesson on photosynthesis. Allowing us to go much deeper with our presentations.
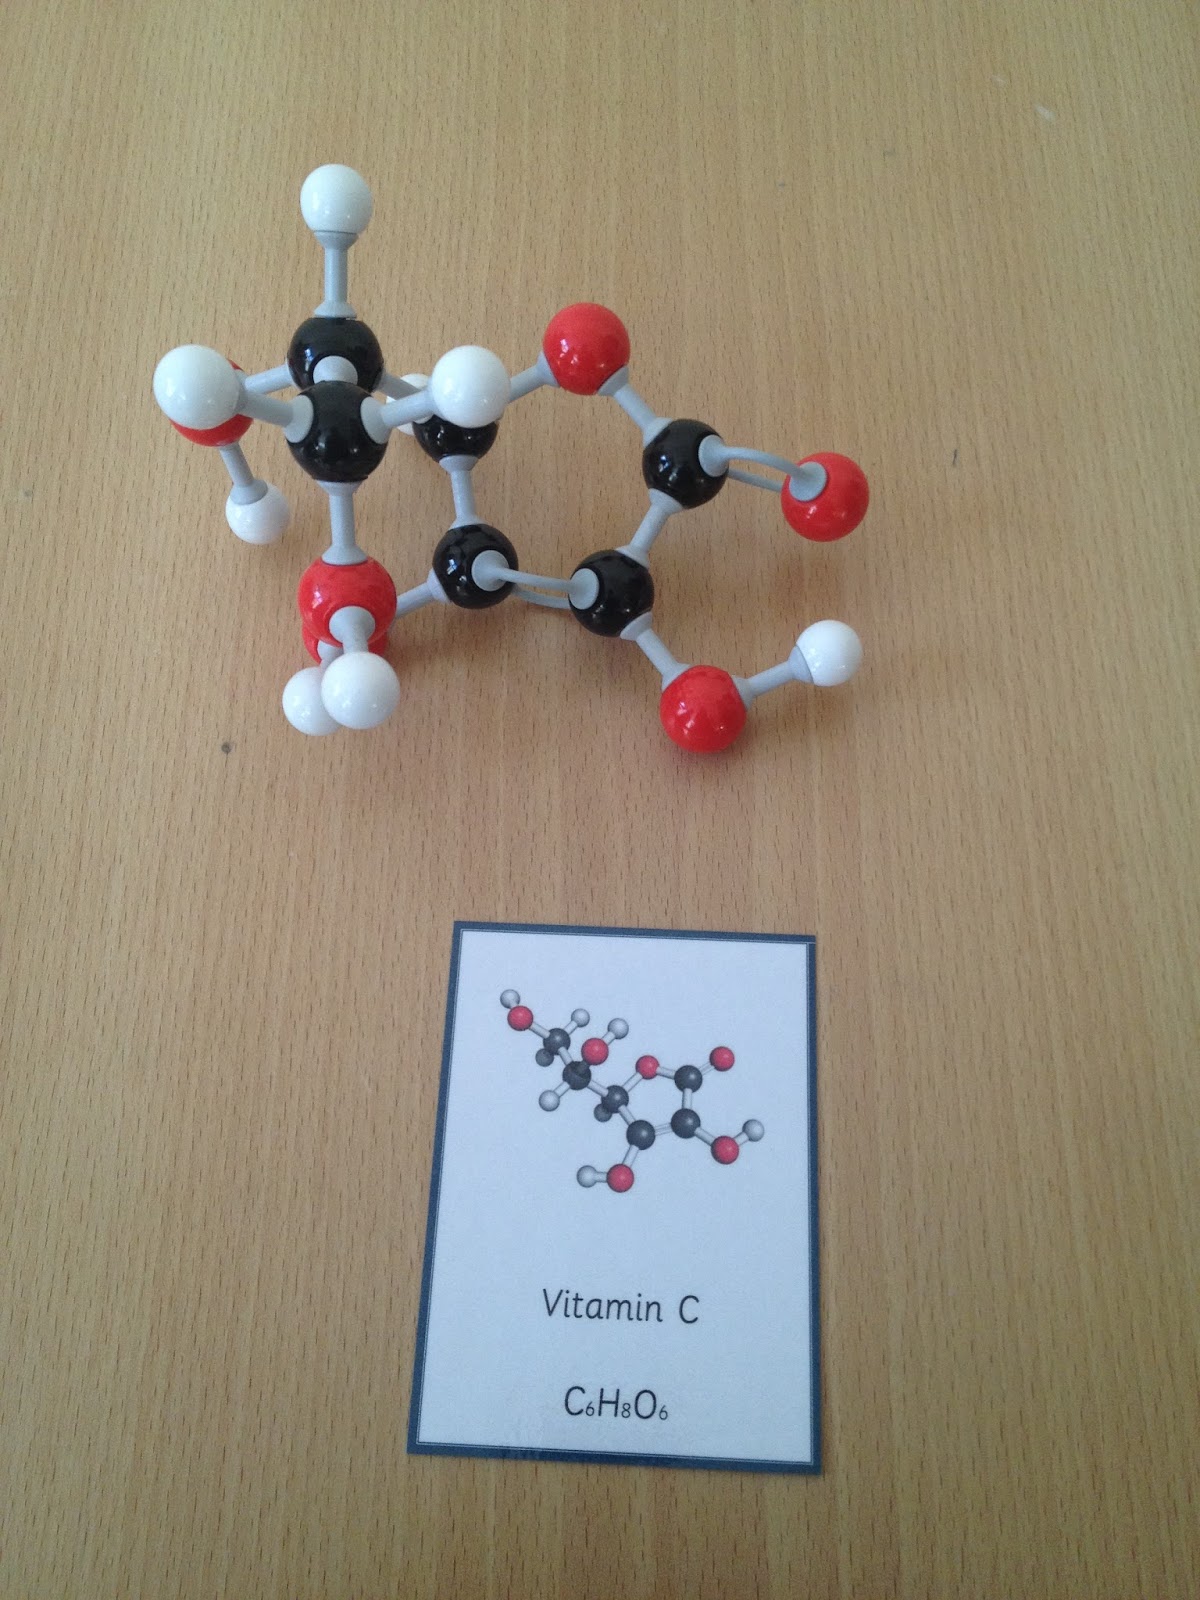

I made these molecule cards for the children to use as guidelines for making molecules.


The cards cover 30 basic molecules and are designed to be used alongside a Molymods kit but can also be used with homemade molecules. These cards are very popular in my store.


Here's Noah working with the basic elements using the molymod kit.
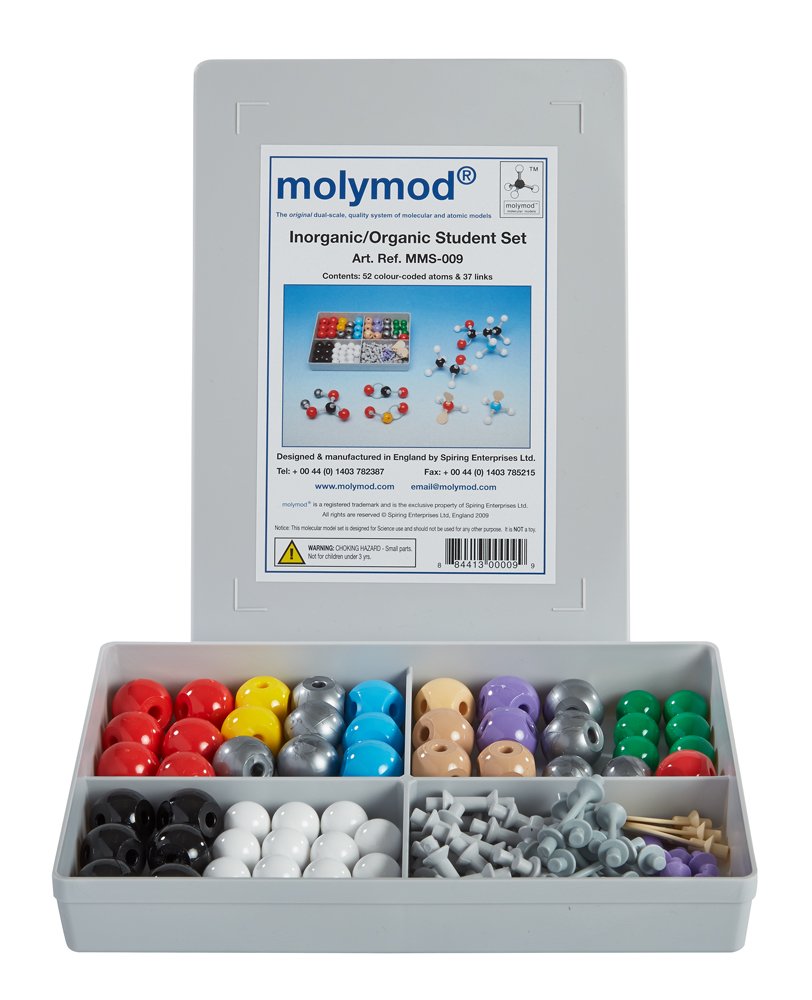

The molymod kit can be purchased from Amazon and is reasonably priced.


Here are some other ideas of molecule kits I've found in the blogsphere:

(Photo from Critters and Crayons)

I love this molecule kit used by Critters and Crayons


This is a lovely example of homemade molecule models.


Here is another lovely blogpost using a molecule kit.


I found this lovely sample presentation on the basic molecular theory using marshmallows and toothpicks.

Interestingly, after Noah worked with our molecule kit and cards, he began seeing molecules everywhere. Once day we walking into a furniture store and saw a light fitting which consisted of balls and rods. Noah immedietly said 'Look mum they've made a methane light fitting'. I love the way Montessori children see the world.😆


Monday, 31 October 2016

Great Lesson 1 : The Periodic Table [Post 9]

Following on from my last post on the atom, this post will look at activities and ideas I have used to introduce the periodic table to my class. 

To begin, it is important to have an attractive and accurate periodic table for the children to work with. I created this periodic table activity below and it is definitely one of my favourite materials. This can be downloaded from here.


I wanted the periodic table to really stand out, so I made sure I used bright colours on a black background. The control chart includes all the details, while the working chart is blank and the child uses the small printed tiles to construct the periodic table. Initially, the child will work with both charts alongside each other, but eventually, the child should be able to use the blank chart and count how many elements they can place correctly without the control.


The children can also use the blank chart to make their own periodic table. I have included one with the periodic table for sale here. Or you can download one for free here.


The Elements book by Theodore Gray is a definite must have when working on the periodic table. It contains beautiful images which really capture the children's interest. Noah read this book for hours. 


The book also includes a foldout periodic table like this one below.


(Photo from http://elements.wlonk.com/)

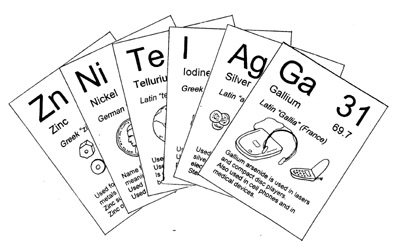
I printed these element cards from this website. They also have free periodic tables and other element printouts. We used these cards for a matching activity.

(Photo from ETC Montessori)

I also have a set of these cards from ETC which are really beautiful. We use these to construct a visual periodic table and to look at the layout of each atom.


(Photo from http://ellenjmchenry.com/)

These cards are also available for a free download with instructions on how to play the Quick Six card game.


I used this free download for children to create their own element booklets.


(Photo from Wikipedia)
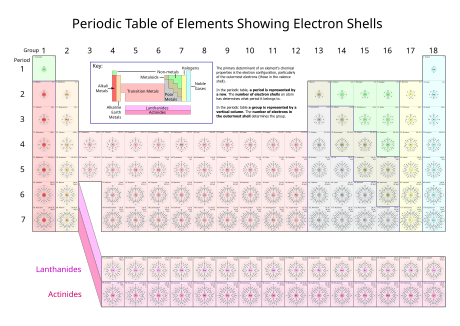
To help children make the elements on our atom board, I printed out this periodic table from wikipedia and cut it into individual elements. The cards show the number of electrons in each shell. 


This previous post shows our atom board.


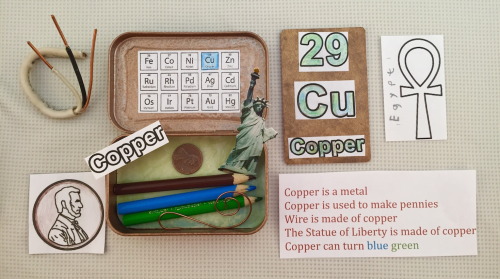
I love this idea and would like to encourage my class to make individual element boxes which are added to by students over the years. The items can also used for something like below:

(Photo from Pinterest)


(Photo from here)

Finally for our next project, I would really like to make a floor sized periodic table, where each element is one A4 page. This would specifically appeal to kinesthetic and spacial learners. I plan to use the element printout from here but keep to the original colours from our Montessori periodic table.

Monday, 24 October 2016

Great Lesson 1 : The Atom [Post 8]

A lovely follow up for the first great lesson is to look at atoms, molecules and the periodic table. 

Atom 3-part Cards


To start off with, the children are reminded of the elements mentioned in the great lesson.  They are then introduced to the parts of the atom using these three part cards. These cards can be purchased from my Montessori Material Store here alongside some using worksheets.


Next, I encourage the children to make their own model of an atom based on what they have understood. This allows them to demonstrate their knowledge and get creative. Here are two models Noah made back in 2014.


Next, we begin constructing atoms and comparing them. To do this, the children need to be introduced to the periodic table and atomic number. I will post about the periodic table lessons separately. 

Atom Board

A lovely material for construction of atoms is the Bohr Board. I didn't want to spend $120 so I decided to make my own. It was so easy and the children loved it. 


I started off with a square piece of plywood 50cm x 50cm. I marked on the shells using a pen and compass. The holes for the electrons were made using a Stanley knife. It's important to make the exact number of holes in each shell. 


This photo shows a better view of one I made on the bottom shelf. This one has a lovely wooden grain which added to the beauty of this material.


We used the beads from the small square peg board as protons, neutrons and electrons. The protons and neutrons were placed in a cup at the centre of the atom. The cup isn't showing in this photo as Noah is filling it up. The electrons sit in the little holes.


I printed out this period table and cut it into individual cards. The children use these as a guide for placing the electrons when constructing atoms on the Bohr board. 


I found some lovely examples of Bohr Boards on these blogs:


Next, I encourage the children to select their favourite elements and make charts or diagrams like this lovely one. The flags are labelling the parts.


Some children decide to make a booklet of the first 20 elements or so using the worksheet included in my set above.

Monday, 10 October 2016

Great Lesson 1 : Moon Phases [Post 7]

Since I have renewed my vows to blog again..I will be starting with continuing my Great Lesson 1 posts from 2015. 

The next great lesson 1 follow up activities are on the moon phases. 


Moon Phase Box


This first thing I like to do with moon phases, is provide the children with experiences that help them to understand why the moon appears differently throughout the month. I do this through a series of activities which they can repeat as often as they like.

Firstly, I gather the children to make a moon box like this. 

(photo from education.com)

Instructions for a moon box can be found here and here. This is fairly simple to make, so I allow my elementary children to get on and make one themselves. Once the box is made, we shine a torch through and peep through the different holes. Looking through each hole, the child will see the moon appear differently. If possible, use a circular box as this will give and even better impression. 


Moon Phase Demonstration


(photo from nasa.gov)

Another activity we do is model out the moon phases in a dark room. For this I have the child stand in the centre of a dark room on a printed earth, to symbolise viewing the moon from the earth. The child hold a polystyrene moon on a cocktail stick straight in front of him. Another child stands at one end of the room holding a torch, shining on the child on the earth. The child in the centre (on the earth) rotates slowly, holding the moon out in front of him observing the moon's appearance as it changes. 

The Nasa website has detailed instructions of how to demonstrate this here

Here's a youtube video that shows the demonstration.


Through these two activities and others, the child develops an understanding of what moon phases are. This makes the language of the moon phases so much more meaningful. 


Moon Phase 3-part Cards


ETC Montessori have a lovely set of moon phase cards which I have used for years. The cards can be downloaded for free from their website here. Unfortunately, I don't have a photo of them set up.


Moon Phase Chart


My children then use the 3-part cards to make their own moon chart like this. This one is very basic, using a white pencil. However, I love to give the children a full range of materials to get creative and make their charts out of anything they like.


Moon Phase Puzzles


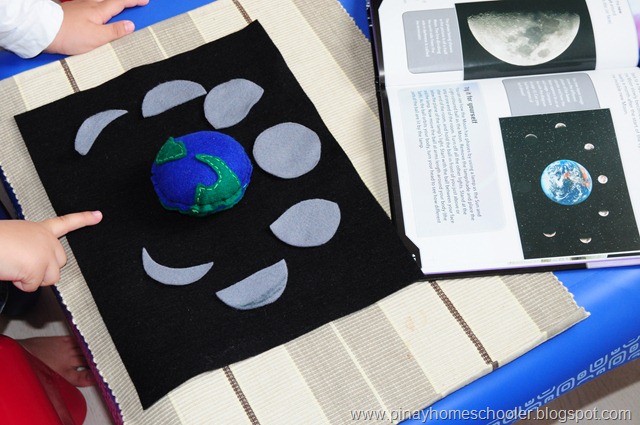
Unfortunately, I am not lucky enough to have a moon phase puzzle yet! This is one piece of material I have on my waiting list to make. I have seen quite a few blogs with home made puzzles. This felt puzzle from Pinay Homeschooler is lovely!


 (photo from The Pinay Homeschooler)


Moon Research


As with all the other follow up lessons, I guide the children to research our moon themselves. Some have even gone on to look at the moons of other planets. As with all research I encourage the children to record their finding and make visual props to demonstrate their understanding. This usually leads to a classroom performance giving all the children the opportunity to hear what has been researched. 

Thursday, 9 April 2015

Carbon Cycle Activities

Recently we have been working on activities to promote sustainable living. As part of this study the children calculated their carbon footprint. In order to fully understand the weight of their carbon footprint I created this carbon cycle chart.


The chart contains movable cards for each part of the carbon cycle. On the back is a description of that card and it's process.


 Once we laid out all the cards and I finished my presentation, the children were silent and their faces displayed the shock of realisation that their actions are destroying the earth. One child immediately pointed out that more carbon is being released into the atmosphere then is taken away. We discussed the side effects of excessive carbon in the atmosphere. The children left the lesson insisting that they must do something to improve the situation.


The carbon footprint worksheet was a great follow up. Each child filled out a form and all were disgusted by their results. I am sure they each went home and began thinking about switching off the lights and reusing plastic bottles.


You can download the free carbon footprint worksheet from here.

Monday, 9 January 2012

Wasp studies


Yesterday morning this wasp appeared in the children's cloakroom at school. At first it wasn't moving and appeared to be dead. I was worried it would still sting me so I trapped it in a petri dish with  the intention that if it was dead I could maybe keep it. It didn't move straight away so I taped the petri dish and left it for a while. It started to move and I realised that it was still alive and knew that Little-N would love some time to observe it.  

Little-N kept it on his desk next to him and began to research in his books to find out about the wasp. He was fascinated when he saw it open and close its mandible [mouth].


 He then worked on drawing this very detailed picture of a wasp and labelled the different parts.

Thursday, 5 January 2012

Birds: Ornithologist to be?

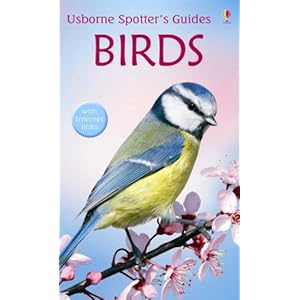
Little-Ns big interest at the moment is in birds. For the last three months everyday has included independent research and studies about birds. His favourite birds are birds of prey, specifically falcons. His interest began to develop from watching flight patterns of birds in our area. It was further developed one day at school when he was sitting by himself reading in my classroom as I rushed around my school managing and teaching children. He found this little bird book in a cupboard:

We also had some RSPB bird posters on the wall. He suddenly rushed up to me and said his favourite bird is a Merlin. I had no clue what a Merlin was and he soon filled me in with too much information about a Merlin along with a hand drawn picture.


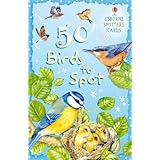
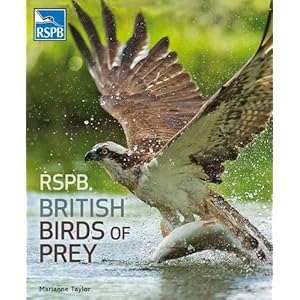
Over the next few days Little-N went through every book at school, home and the library reading about birds. Here are some of the books he read:

This book is amazing. He read it so much it's falling apart!


These are really good for taking on outings.


Birds of Britain  Essential Guide, with lovely fold out pages about birds.


 A very detailed book about birds of prey.


This book has amazing maps of birds.
This book is fantastic, his favourite with so many beautiful pictures.

Along with the reading comes a lot of independent research and pictures:

Here is a picture of a Merlin that he drew:


Here is what Little-N calls a 'fact file' about gyrfalcons, this is all his independent work that I often don't know about until he's completed it:

Here is a book he made one day while I was out working:


This is an example of one of the pages inside:


He has made so many bird books and drawn so many bird pictures. Even today I came home to another bird book he made :) I'm so happy with his independence and ability to sit and work on his projects without my help. 

Reading about birds had exposed Little-N to Latin as many birds have Latin names that are included in his books. Somehow he has found away to learn the Latin names of birds and some other Latin words. I'm so surprised that Little-N is walking around saying 'Falco rusticolus' apparently that's the Latin name for a gyrfalcon!


He read about the RSPB bird reserves and asked me to take him to visit one. I found one 15mins away from my home so we went for a quick visit. He loved it!

Little-N is keen to join the bird spotting club in our local park and has already identified all the birds we've seen while cycling through to school.